---
title: Host a single-page website on IPFS
description: Learn how to host a simple one-page website on IPFS and link up a domain name.
---
# Host a single-page website on IPFS
In this tutorial, we will host a simple one-page website on IPFS and link up a domain name. This is the first step is a series of tutorials to teach web developers on how to build websites and applications using IPFS.
::: callout
If you are looking for [single-page application (SPA)](https://en.wikipedia.org/wiki/Single-page_application) support, see [redirects and custom 404s](../../how-to/websites-on-ipfs/redirects-and-custom-404s.md) instead.
:::
## Install IPFS desktop
IPFS desktop application is the easiest way to get up and running quickly with IPFS. The installation steps for IPFS desktop differ between operating systems. Follow the instructions for your system.
| [Windows](#windows) | [macOS](#macos) | [Linux](#linux) |
| -------------------------------------------------------------------------- | -------------------------------------------------------------------- | -------------------------------------------------------------------- |
| [](#windows) | [](#macos) | [](#linux) |
Already downloaded? you can [Skip this step](#add-your-site)
### Windows
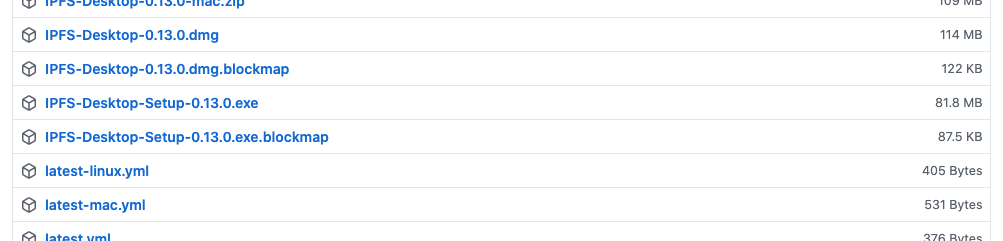
1. Download the latest available `.exe` file from the [IPFS desktop downloads page](https://github.com/ipfs/ipfs-desktop/releases):
2. Run the `.exe` file to start the installation.
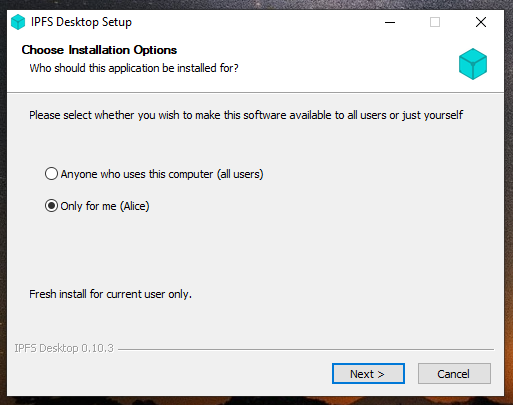
3. Select whether you want to install the application for just yourself or all users on the computer. Click **Next**:
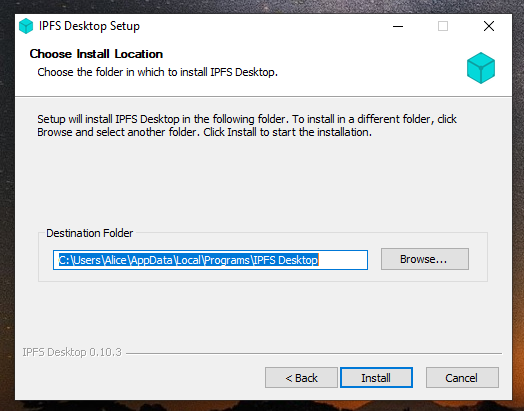
4. Select the install location for the application. The default location is usually fine. Click **Next**:
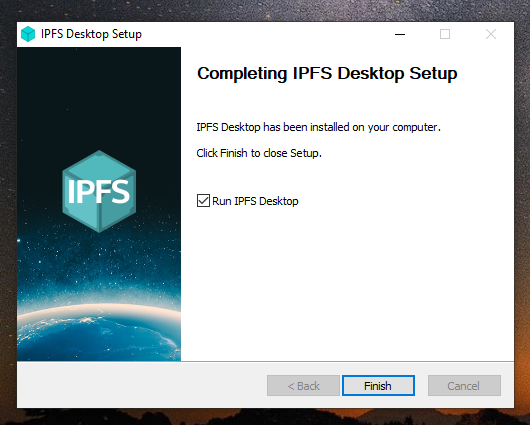
5. Wait for the installation to finish and click **Finish**:
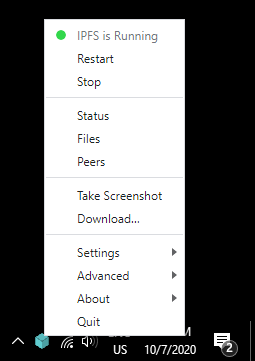
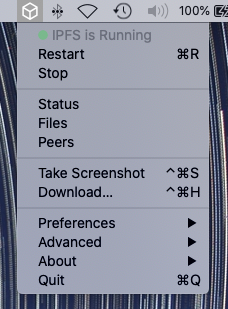
6. You can now find an IPFS icon in the status bar:
The IPFS desktop application has finished installing. You can now start to [add your site](#add-your-site).
### MacOS
1. Download the latest available `.dmg` file from the [IPFS desktop downloads page](https://github.com/ipfs/ipfs-desktop/releases):

2. Open the `ipfs-desktop.dmg` file.
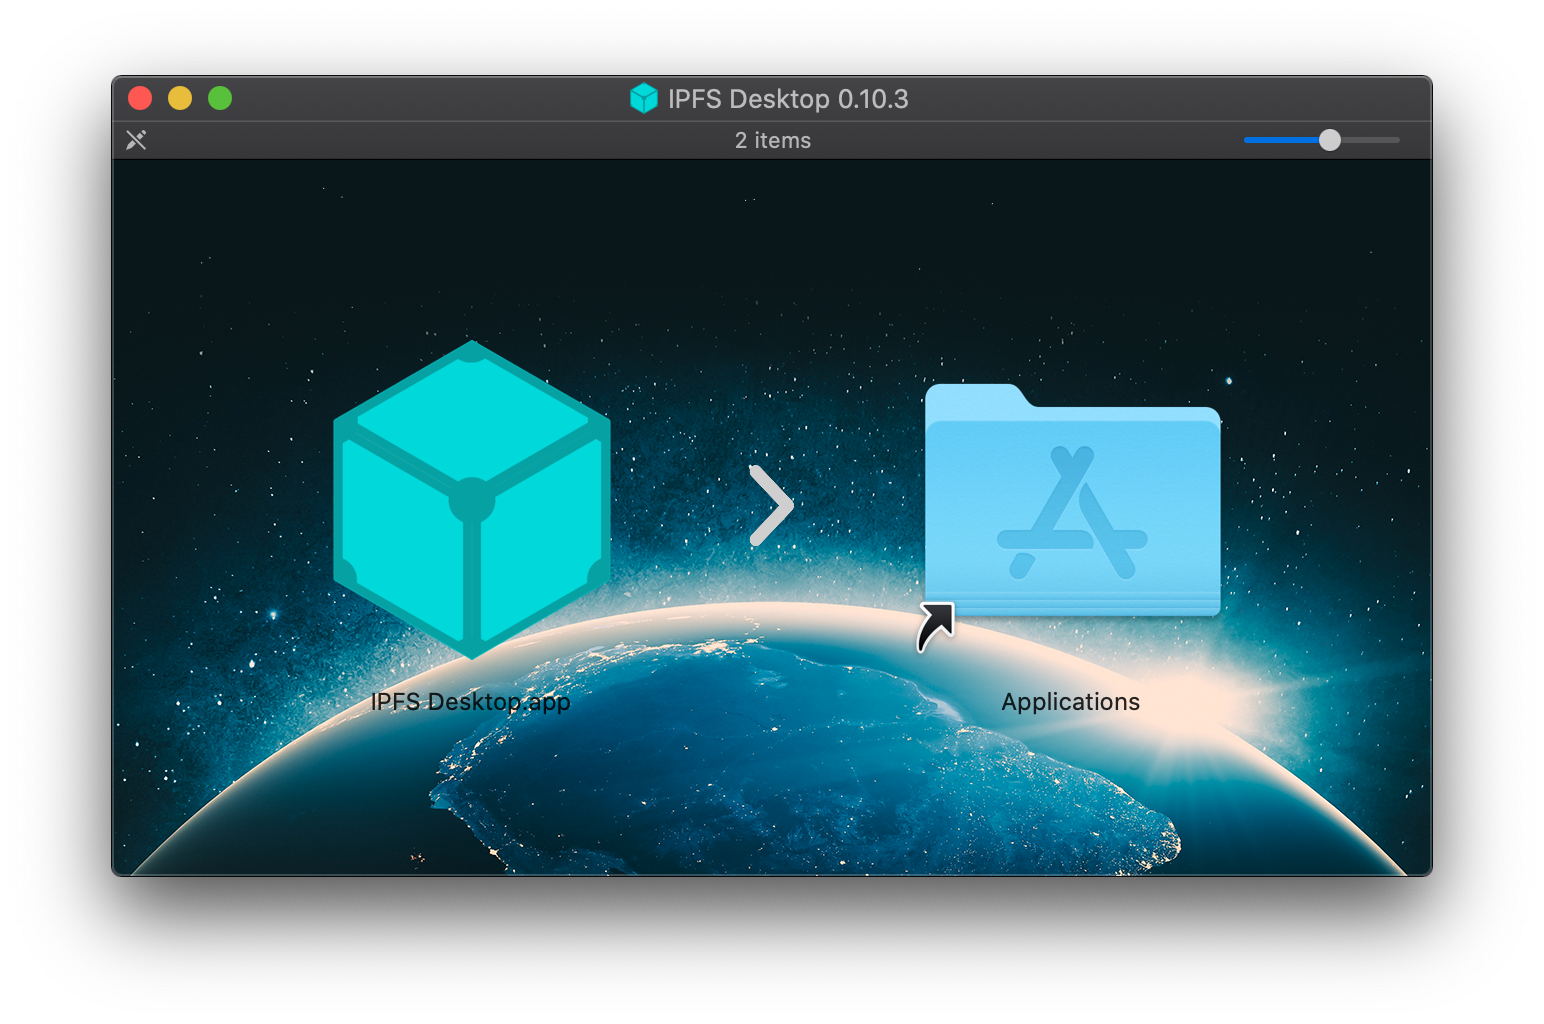
3. Drag the IPFS icon into the **Applications** folder:
4. Open your **Applications** folder and open the IPFS desktop application.
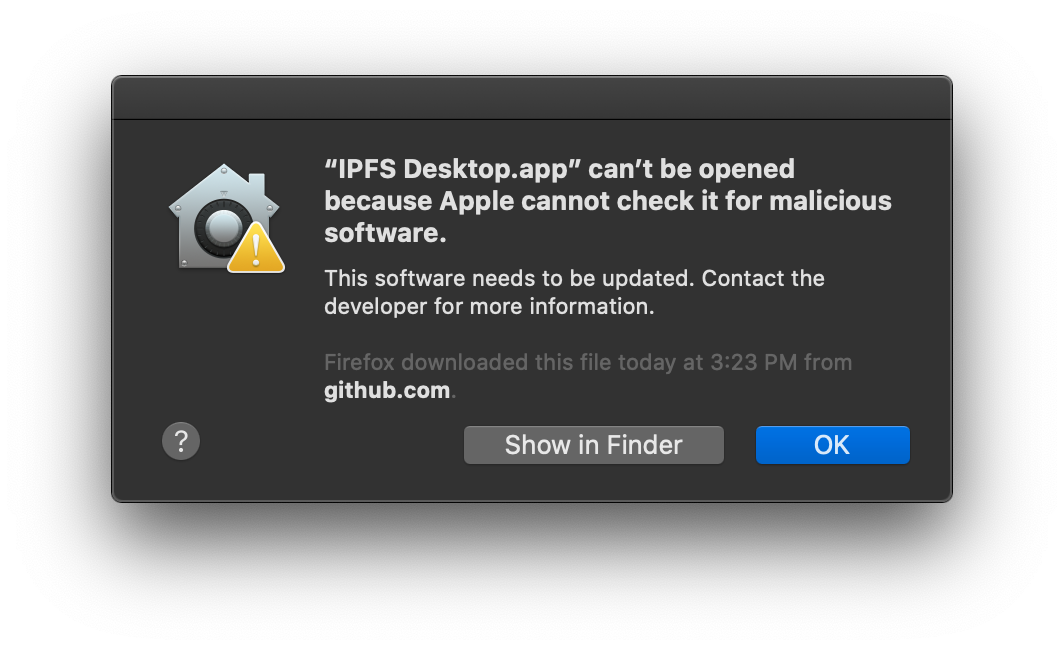
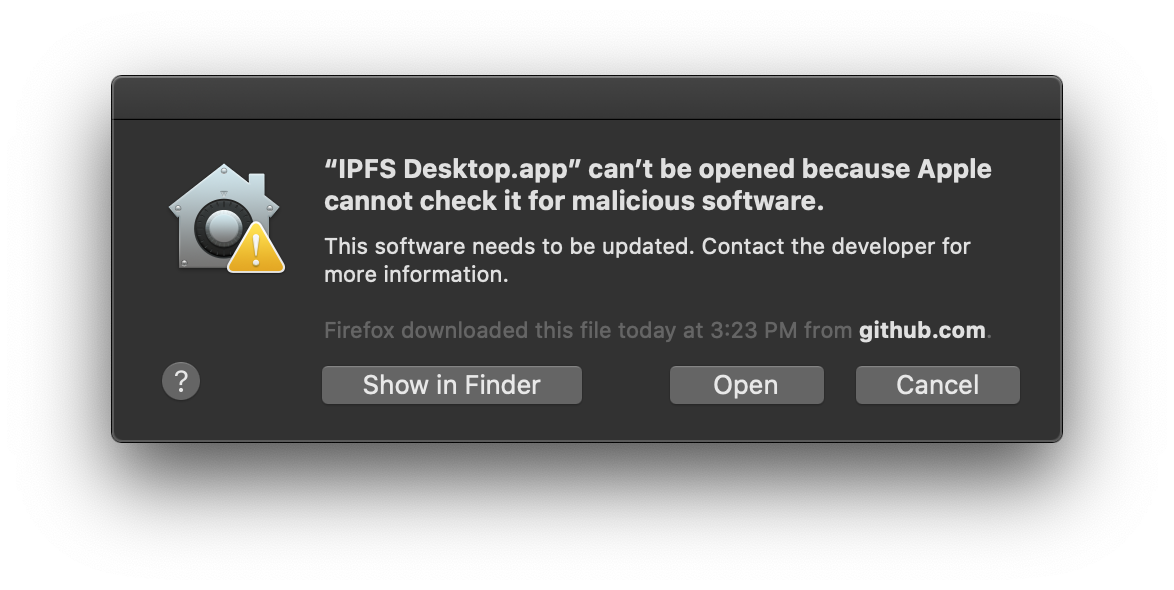
5. You may get a warning saying _IPFS Desktop.app can't be opened_. Click **Show in Finder**:
6. Find **IPFS Desktop.app** in your **Applications** folder.
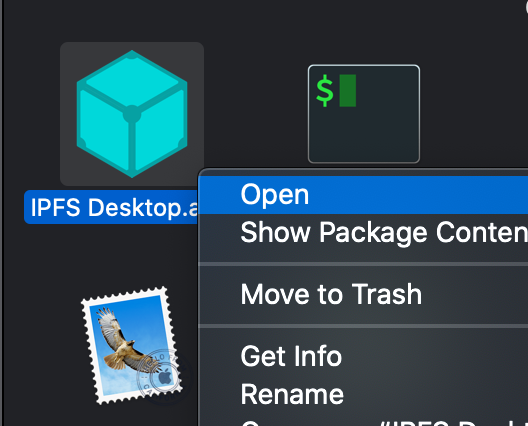
7. Hold down the `control` key, click **IPFS Desktop.app**, and click **Open**:
8. Click **Open** in the new window:
9. You can now find an IPFS icon in the status bar:
The IPFS desktop application has finished installing. You can now start to [add your site](#add-your-site).
### Linux
1. Download the latest available `.deb` file from the [IPFS desktop downloads page](https://github.com/ipfs/ipfs-desktop/releases):
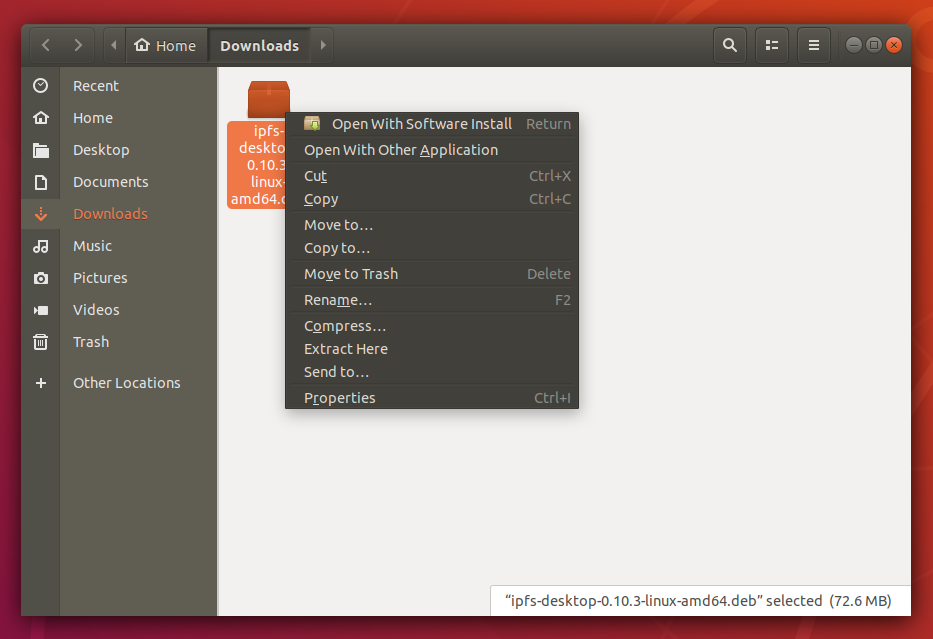
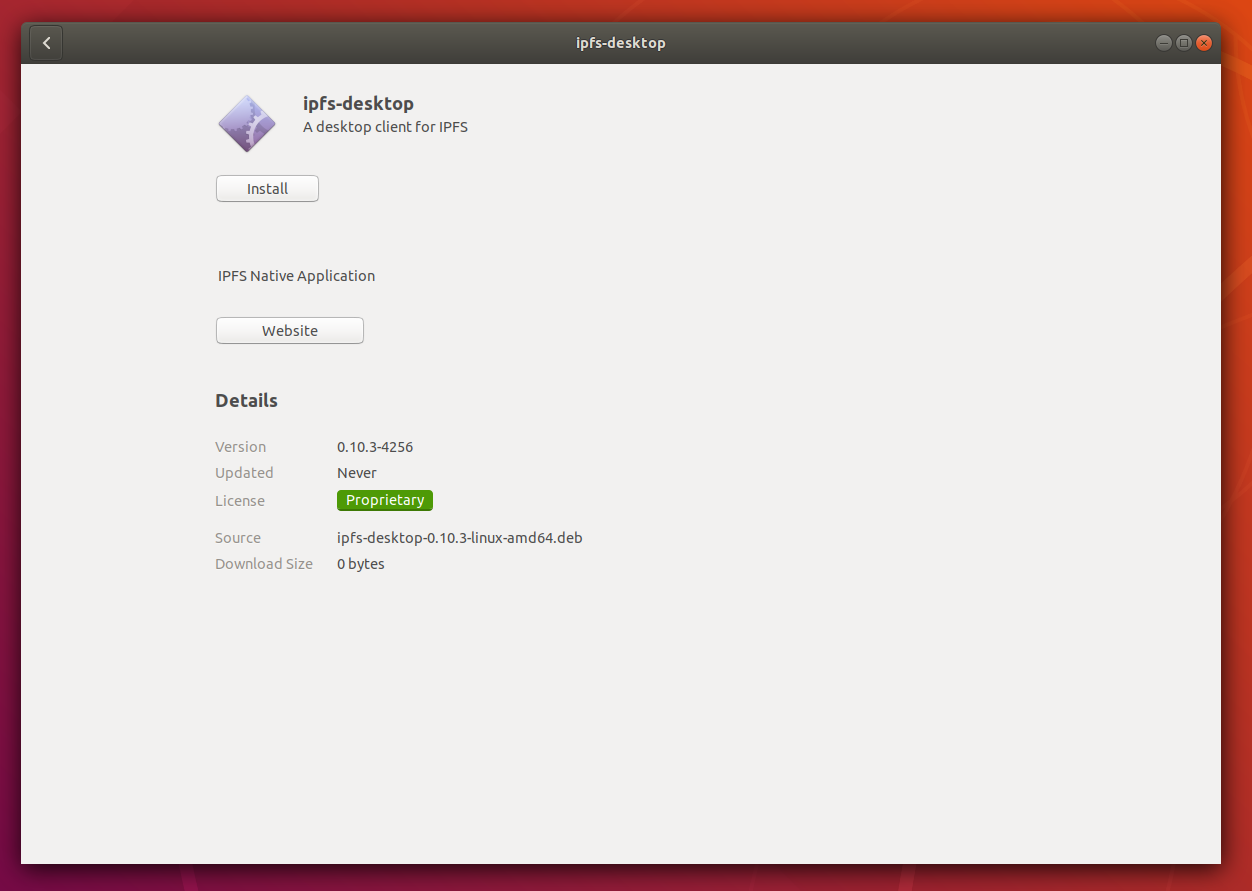
1. Open the `.deb` package in **Software Installer**:
1. Click **Install** and wait for the installation to finish:
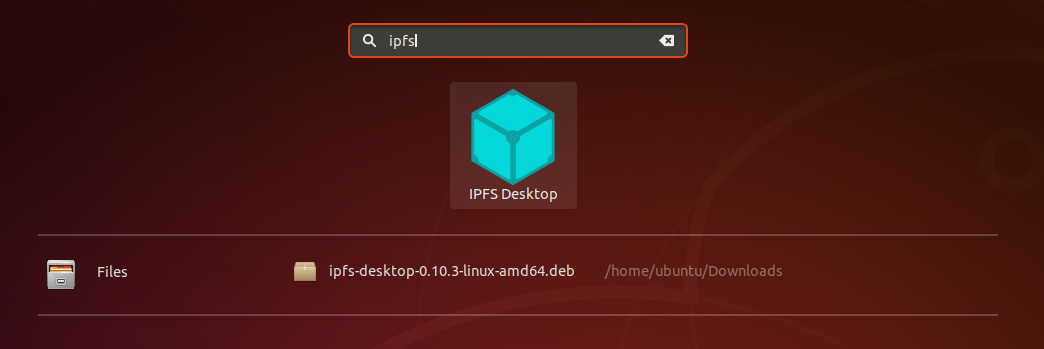
1. Click **Applications** or press the Windows key on your keyboard.
1. Search for `IPFS` and select **IPFS Desktop**:
1. You can now find an IPFS icon in the status bar:
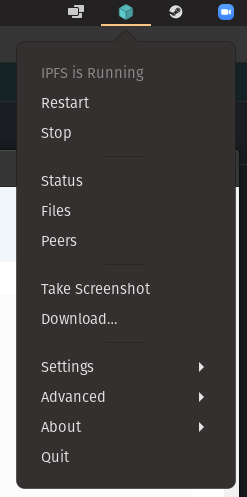
The IPFS desktop application has finished installing. You can now start to [add your site](#add-your-site).
## Add your site
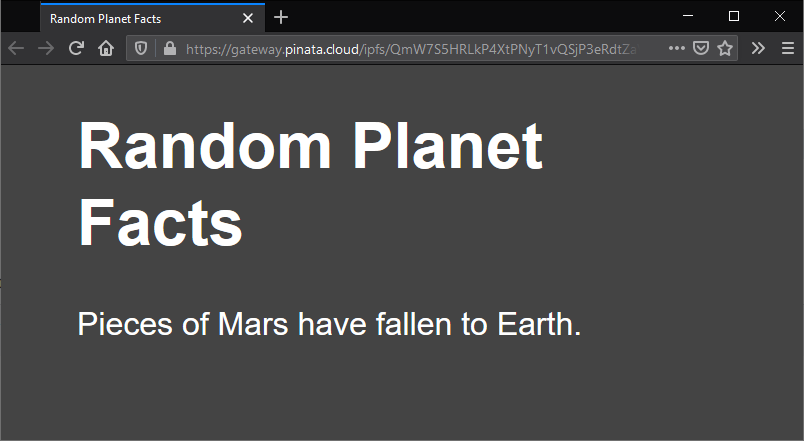
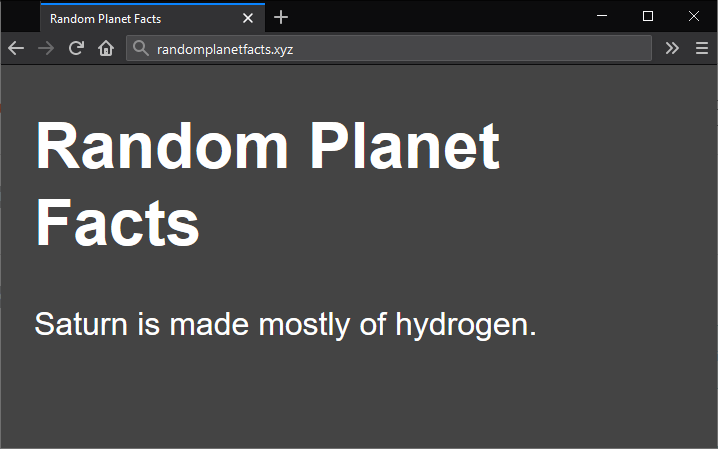
The next step is to import your site into IPFS using the IPFS desktop app you just installed. The website we'll be using is incredibly simple. The purpose of it is to display random planet-related facts. Each time the page is refreshed, a new fact is displayed. The website is creatively called _Random Planet Facts_.
1. Create a file called `index.html` and paste in the following code:
```html
Random Planet Facts
Random Planet Facts
```
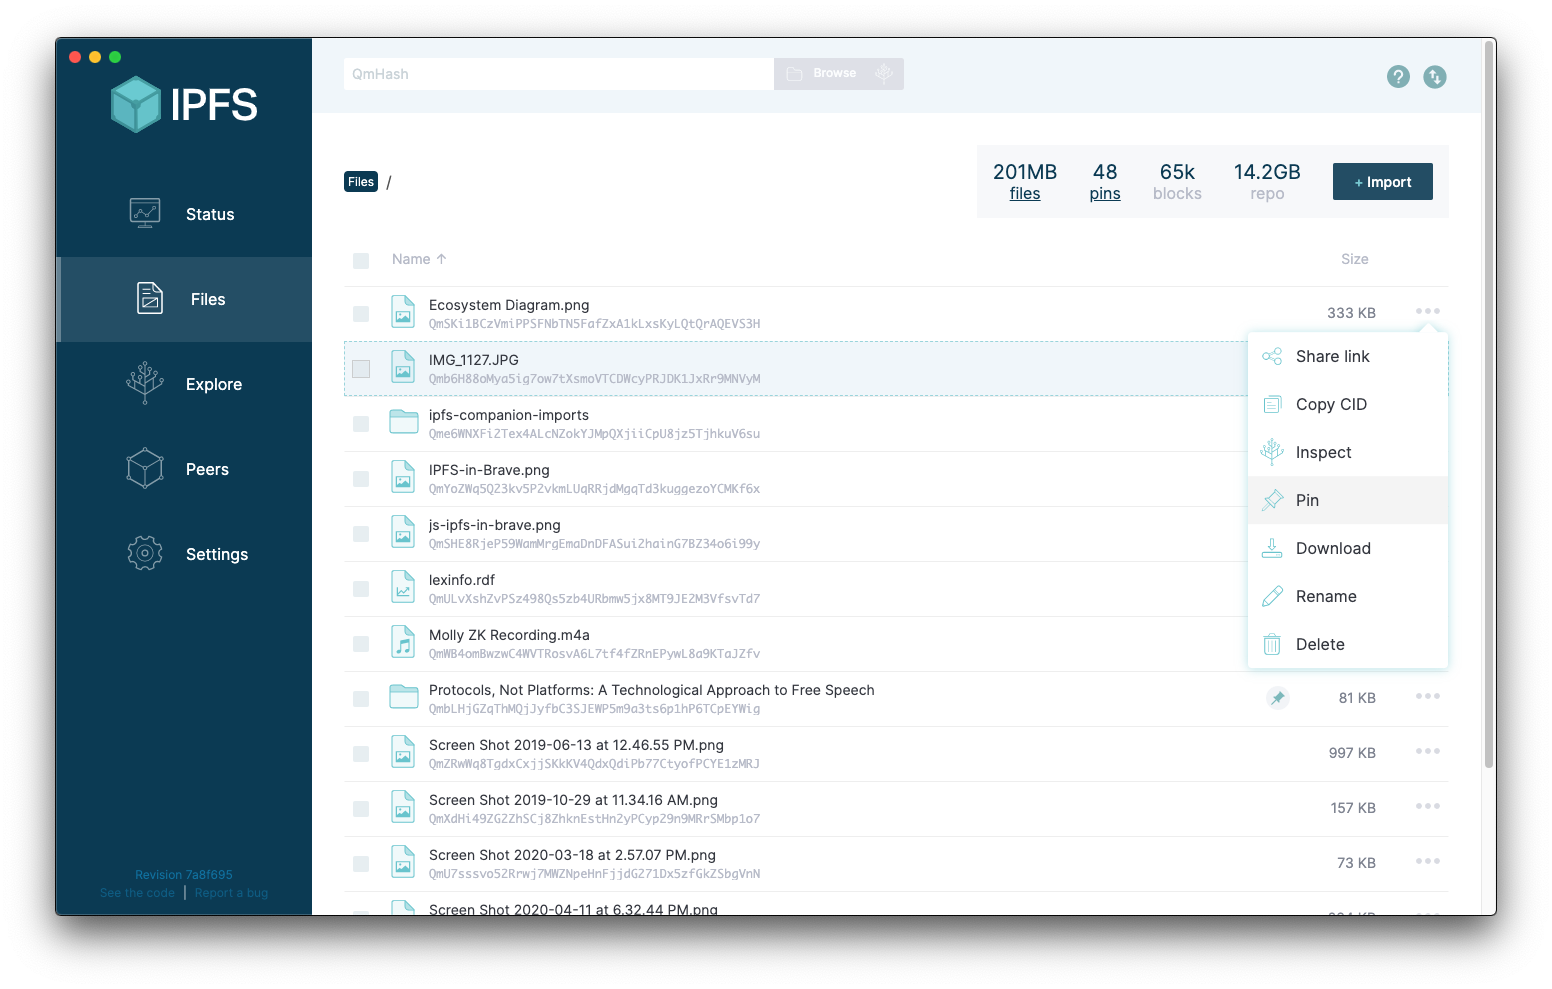
2. Open IPFS desktop and go to the **Files** page.
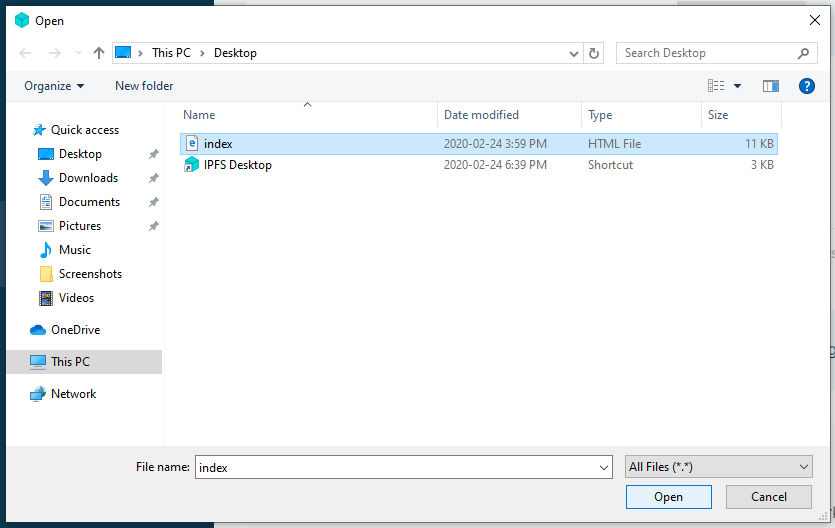
3. Click **Add** → **File**.
4. Navigate to your `index.html` file and select **Open**.
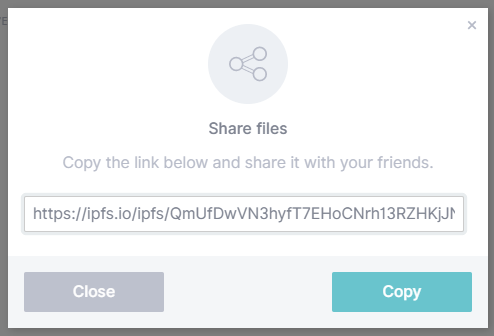
5. Click the triple dot menu on `index.html` and select **Share link**.
6. Click **Copy** to copy the file's URL to your clipboard.
7. Open a browser and paste in the URL you just copied.
Your browser should load the website in a few moments! This can take up to a few minutes the first time. You can move onto the next section while the site is loading.
## Pinning files
IPFS nodes treat the data they store like a cache, meaning that there is no guarantee the data will continue to be stored. _Pinning_ a file tells an IPFS node to treat the data as essential and not throw it away. You should _pin_ any content you consider important to ensure that data is retained over the long term. IPFS Desktop allows you to pin files straight from the _Files_ tab.
However, if you want your IPFS data to remain accessible when your local IPFS node goes offline, you might want to use another option like _collaborative clusters_ or a _pinning service_.
### Collaborative clusters
IPFS collaborative clusters are groups of IPFS nodes that collaboratively pin all content added to the IPFS Cluster by one or many trusted peers. You can learn more about collaborative clusters, including how to set up a cluster yourself, from [ipfscluster.io](https://ipfscluster.io/documentation/collaborative/setup/)
### Pinning services
An easy way to make sure important data is retained is to use a pinning service. These services run lots of IPFS nodes and will _pin_ your data for you! This way, you don't have to run and maintain your own IPFS node. Check out the [Persistence page](../../concepts/persistence.md) for more information on pinning services. In this tutorial, we're going to use [Pinata](https://pinata.cloud) since it gives new users 1GB of storage for free, and has a very simple interface:
1. Go to [Pinata.cloud](https://pinata.cloud) and sign up or log in.
2. Select **Upload** and click **Browse**.
3. Navigate to your `index.html` file and click **Open**.
4. Click **Upload**.
5. You should be able to see your `index.html` file pinned:
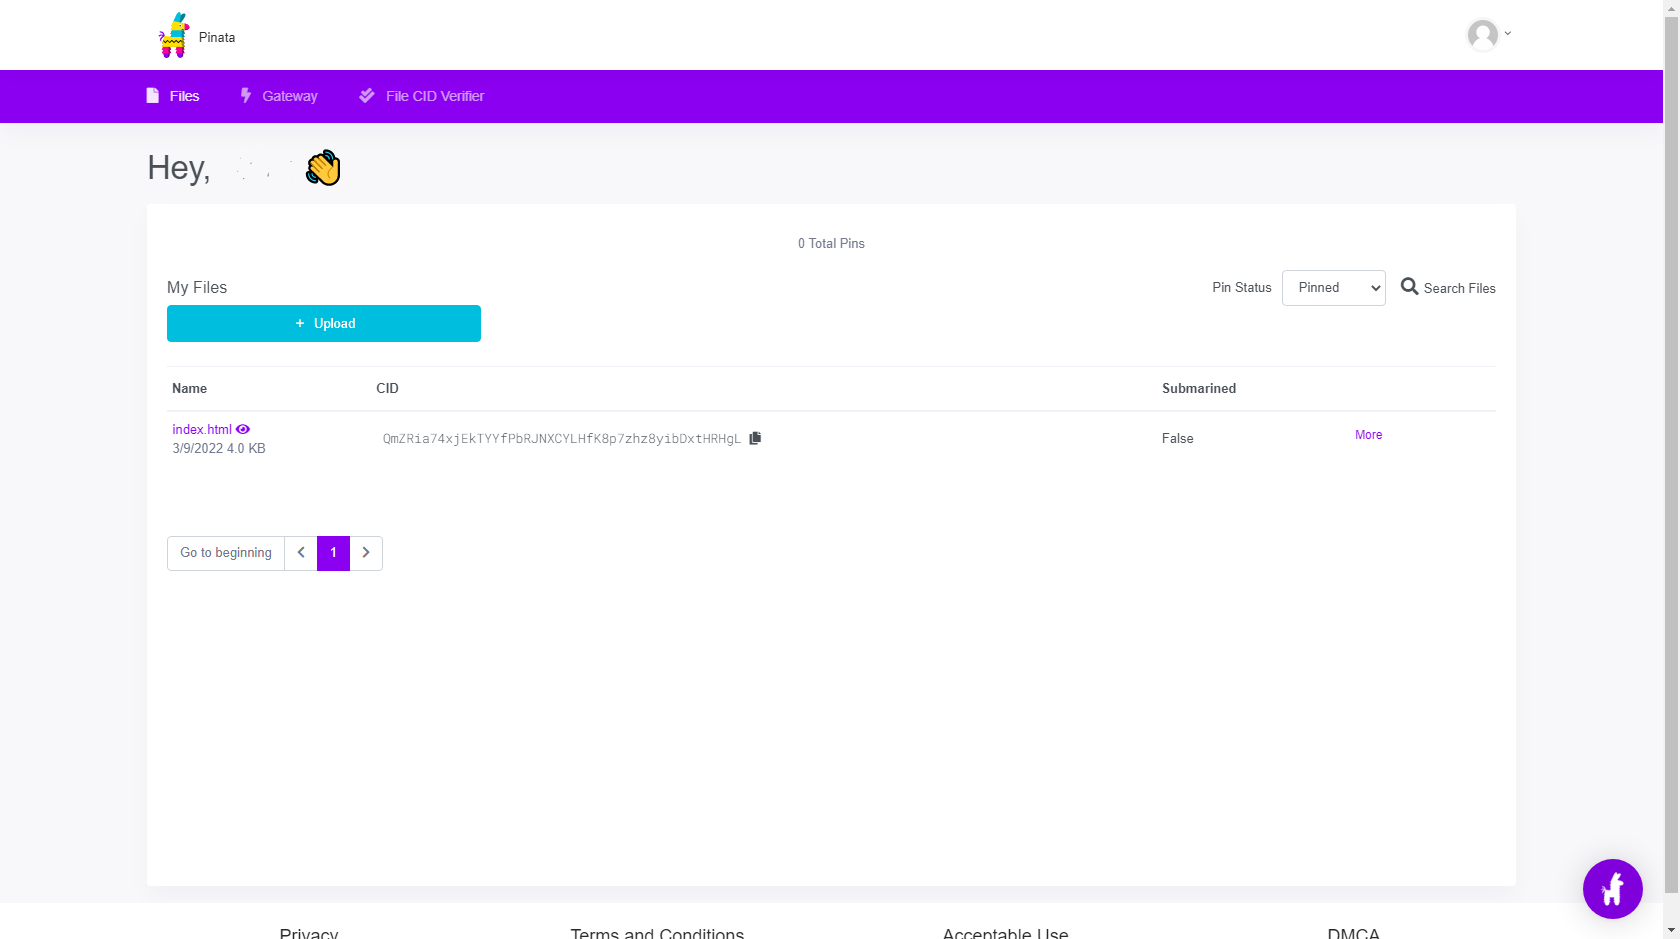
6. Click your `index.html` file to open your website through the Pinata gateway.
## Set up a domain
This section is completely optional.
If you have access to a domain name service like Namecheap, Google Domains, GoDaddy, or any other domain service, then you can follow along with these steps. If you don't have a domain name to assign, you can just read along this section. We will dive into using decentralized naming services like Ethereum Naming Service (ENS) in a later section.
We used Namecheap, but the process is very similar across all domain name services.
1. Log into your domain name provider.
2. Go to your domain management window and find the domain you want to assign to your website.
3. Find where to change the **Redirection Settings**.
4. In a new tab, open [Pinata](https://pinata.cloud/), log in, and copy the **IPFS Hash** for your website.
6. In your domain name providers **Redirection Settings** section, paste in the **IPFS Hash** link you just copied.
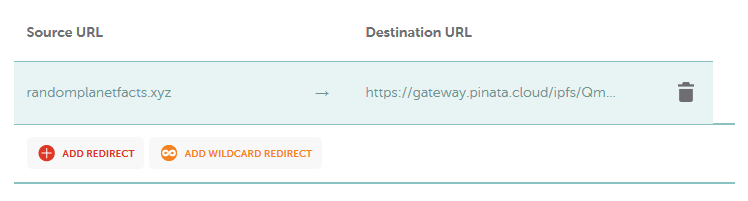
7. Save your changes.
Domain name services are fairly slow to update. You should be able to go to your domain and see the website you pinned in a few hours.
## Up next
This project was designed to get you up and running quickly, but there are many improvements we can make here.
You may have noticed that when visiting [randomplanetfacts.xyz](http://randomplanetfacts.xyz), your browser redirects to [gateway.pinata.cloud/ipfs/QmW7S5HR...](https://gateway.pinata.cloud/ipfs/QmW7S5HRLkP4XtPNyT1vQSjP3eRdtZaVtF6FAPvUfduMjA). This isn't great for the user's experience, and it can cause issues with security certificates and other website validation methods. Also, this website is incredibly simple. There are no images, external stylesheets, or javascript files.
If you're interested in building a more complex site using IPFS and securing it properly, [carry on with this tutorial series by hosting a multipage website on IPFS.](multipage-website.md)